Monday, July 27, 2015

Happy 60th Wedding Anniversary

Hi Everyone,

Hope you all enjoyed the weekend.

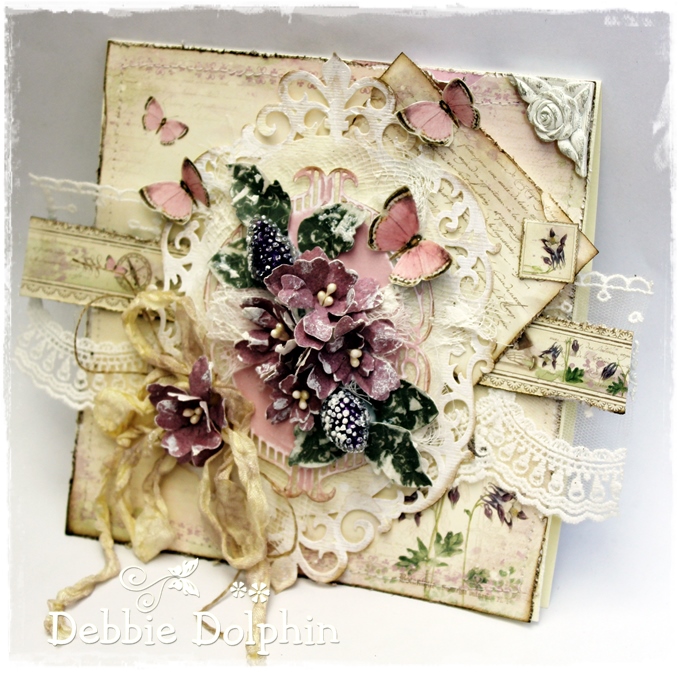
A commissioned project today and I have again used beautiful papers from Pion Design's Vintage Wedding collection.  The MDF Triptech is made by Dutch Doobadoo, all links at the bottom of the post as usual.

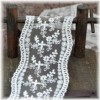
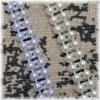
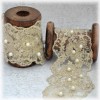
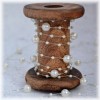
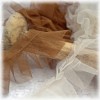
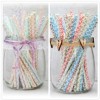
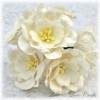
I have added flowers, seam binding, pearl string, tulle, dutch doobadoo softboard roof tiles, mini bark heart, damansk straws, Ranger film trip, gorgeous lace and a resin frame.  I think that's everything on this side, lol.


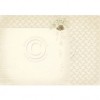
The photo's are of the Customer's Mum and Dad either side and of their wedding 60 years ago in the centre.  Congratulations!

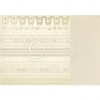
This is the back of the Triptech.


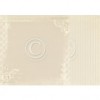
Not easy to photograph to capture the elegance and I know these photo's don't do it the justice it deserves.


I have used the stripes and dots stencil with structure paste on the paper but it looks like the flowers are growing up a trellis :)


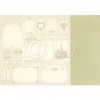
I have used a crotcheted heart in the centre panel, the text and numbers for the date is from the border sheet.


Hugs Tracy x


Sunday, July 26, 2015

Pion Papers 'Linneaus' Botanical


Hello
I hope you are all well :D
Its Debbie here today to share a little something different other than Magnolia, although I have used Magnolia DooHickey Dies for the flowers.

Ive always loved to make my own flowers and what better way to showcase them using the gorgeous Pion Designer Papers 'Linneaus' Botanical
Such beautiful Elegant Papers.
I made the flowers using DooHickeys from Volume 5 'Celebrations'
Leaves are Rose Leaf
♥ ♥ ♥
Thankyou so much for stopping by today
I wish you a wonderful Sunday
♥ ♥ ♥

Big Hugs


Saturday, July 25, 2015

Blush Becky

Hi everyone! Hope you are having a great day! It's Alyce here and I'm sharing my project this week's Anything Goes theme :) I am using this gorgeous new stamp called Blush Becky by The Greeting Farm.


Lots and lots of layers here of Maja designs papers... mm yummy! :) The white around my image is the yummy Frantage. I sprinkle it on with my fingers while holding the image flat, and then heat from underneath with my heatgun until it is melted.


I hope you've enjoyed my project! Thanks so much for stopping by!